…But then my SD-card SanDisk 16GB (Type 10 A1) crashed and I looked into the alternative for running Home Assistant on a Raspberry Pi 3 Model B (RaPi3B)
For me it is clear that the heavy file access of Home Assistant in my context will not work long term with any SD card. Therefore, I was looking for a simple HDD solution. There are many complicated solutions described in the web, but I found a very simple and straight forward approach which is written in German. Therefore, I translate the essentials for you into English.
First, you need to take care of the right power supply as this is the main hurdle for Rasperry Pis working with HDD. The RaPi3B needs 330 mA for running and offers up to 600 mA for USB and other external peripherals. This adds up from HDMI 50 mA, Ethernet 50 mA, or Mouse 50 mA. You can increase the peripheral limit to 1’200 mA but overall, you can not get more out of the RaPi3B than 2’500 mA at 4.75 – 5.2V or 11 – 13W. But of course your USB power supply must be able to deliver! And therefore, you better use the official Raspberry Pi 3 Model B which delivers 2500 mA at 5.1V and not an USB charger! But even this might not be enough to run a HDD drive. Therefore, I picked the simple solutions: an external HDD with Y-cable: two USB plugs, one for DATA and one for POWER.

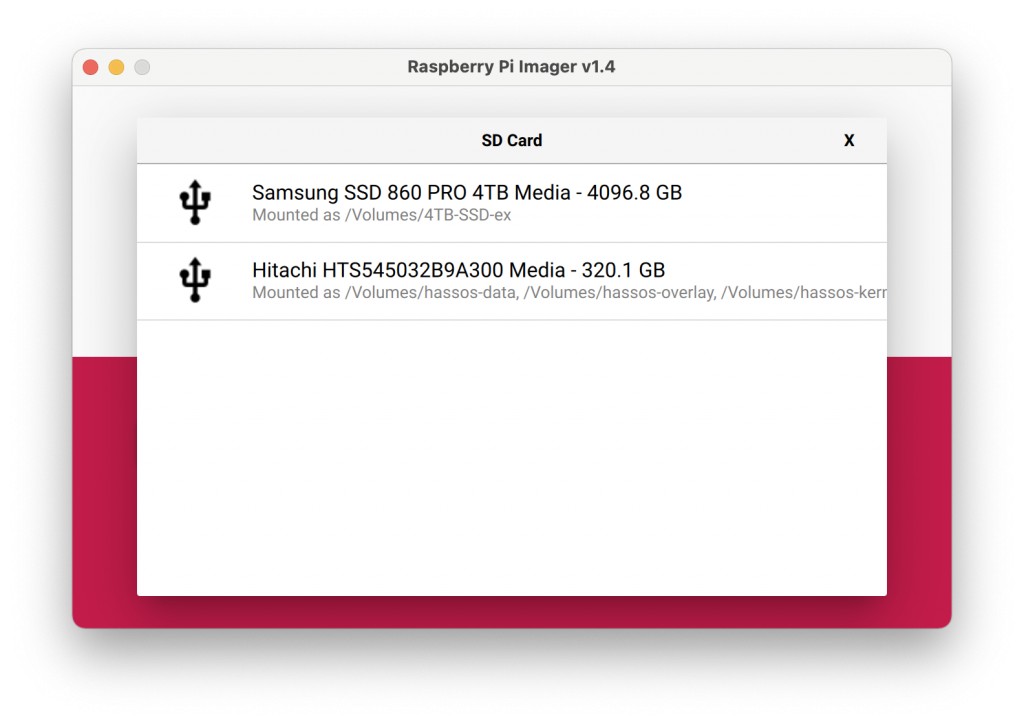
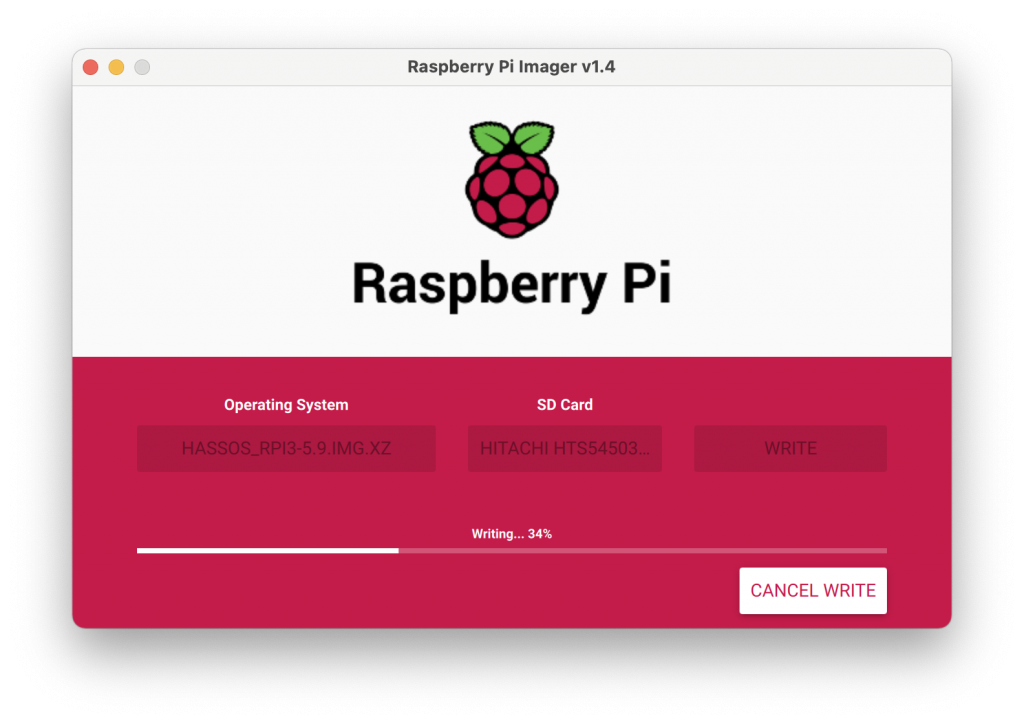
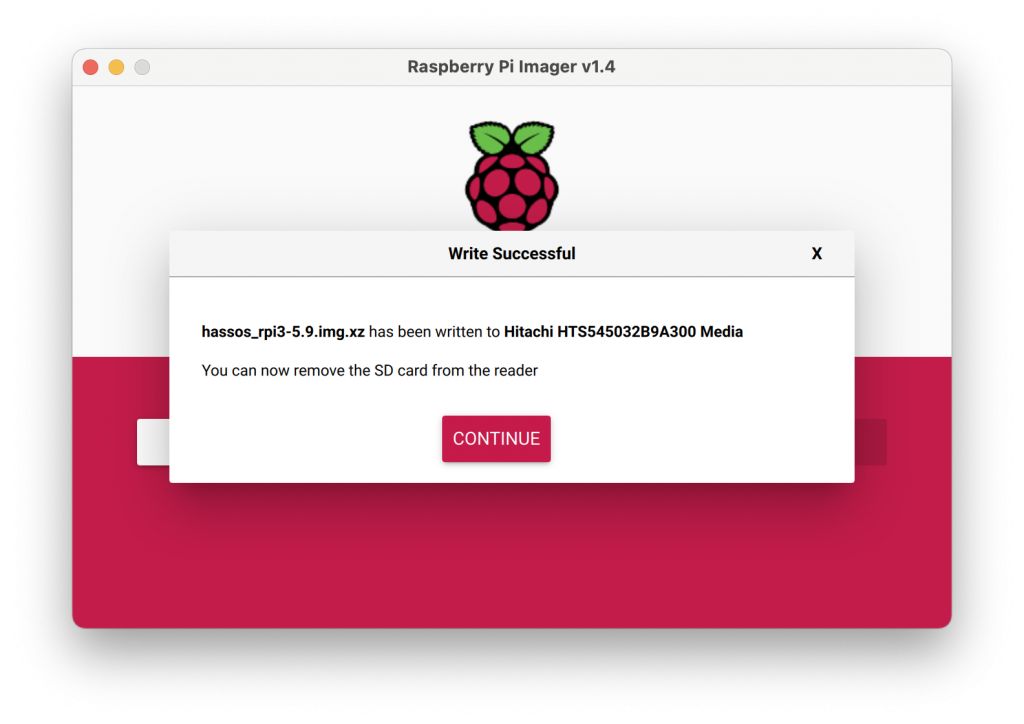
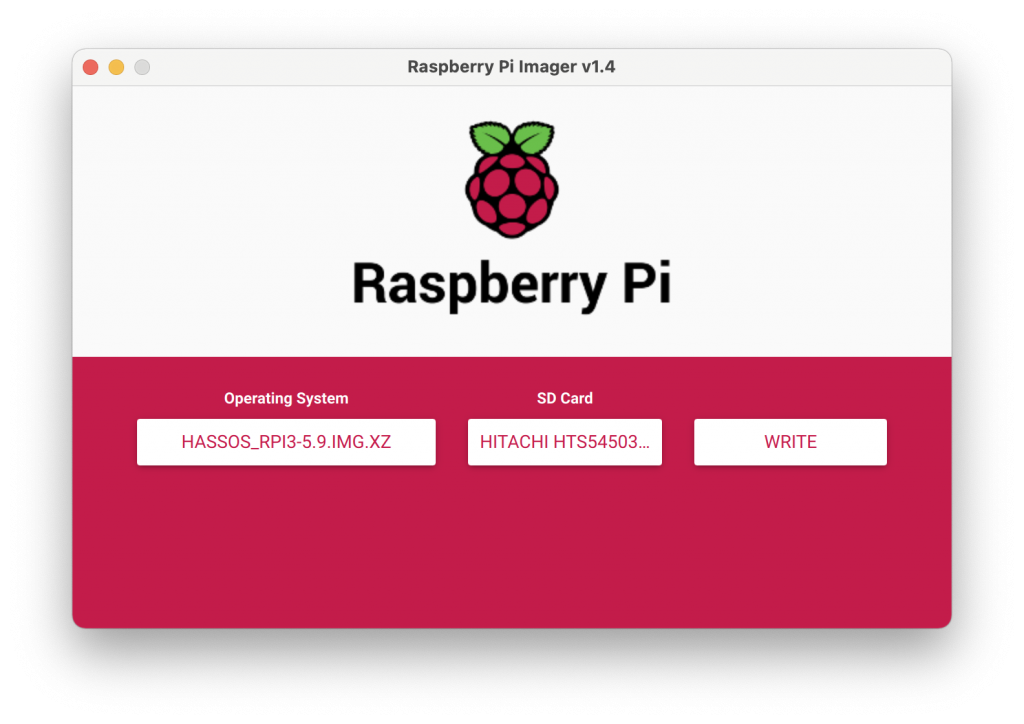
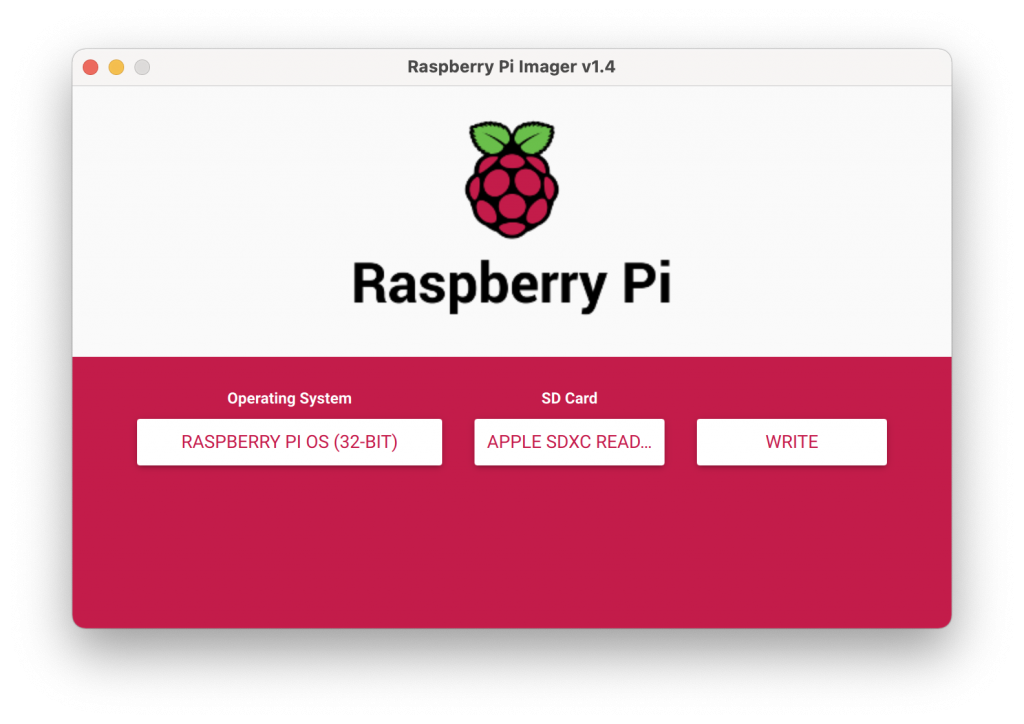
Second, you need to install Home Assistant on a HDD, which turns out so easy. Just download and install Rasperry Pi Imager, then download the Home Assistant image, and „flash“ this image on your HDD connected to your PC or Mac. The size of the data partition will be increased by Home Assistant during the first bootstrap process, nothing to worry about.
In order to configure the RaPi3B you need (one more time) a SD-card with the standard Raspberry Pi OS (32-bit) installed. You create it with Rasperry Pi Imager, too.
Third, you need to tell RaPi3B to boot from the HDD instead from the SD-card. Here are the sub-steps
- Start RaPi3B with SD card running Raspberry Pi OS (32-bit)
- Change the boot config file to boot from USB and wait 5s for USB drive:
echo program_usb_boot_mode=1 | sudo tee -a /boot/config.txt
echo program_usb_timeout=1 | sudo tee -a /boot/config.txt - Restart RaPi3B
sudo reboot - Check if config file really set the the parameter correctly
vcgencmd otp_dump | grep 17:
Should print17:3020000a - Shutdown RaPi3B
sudo shutdown - Unplug your RaPi3B from power supply
- Remove the SD card
- Connect your HDD to RaPi3B USB port and to an external power supply.
- Turn on the two power supplies at the same time. I use a socket with a switch for the two power supplies.
- Booting from HDD will start if there is no SD card installed. As soon as you start with the SD card before boot, this will be used.
DONE.